Prerequisites
You need an account before starting, create one here.
Create a new project
Once logged in, you can create a new project by clicking on the New Project button located at the top right corner of the projects page.
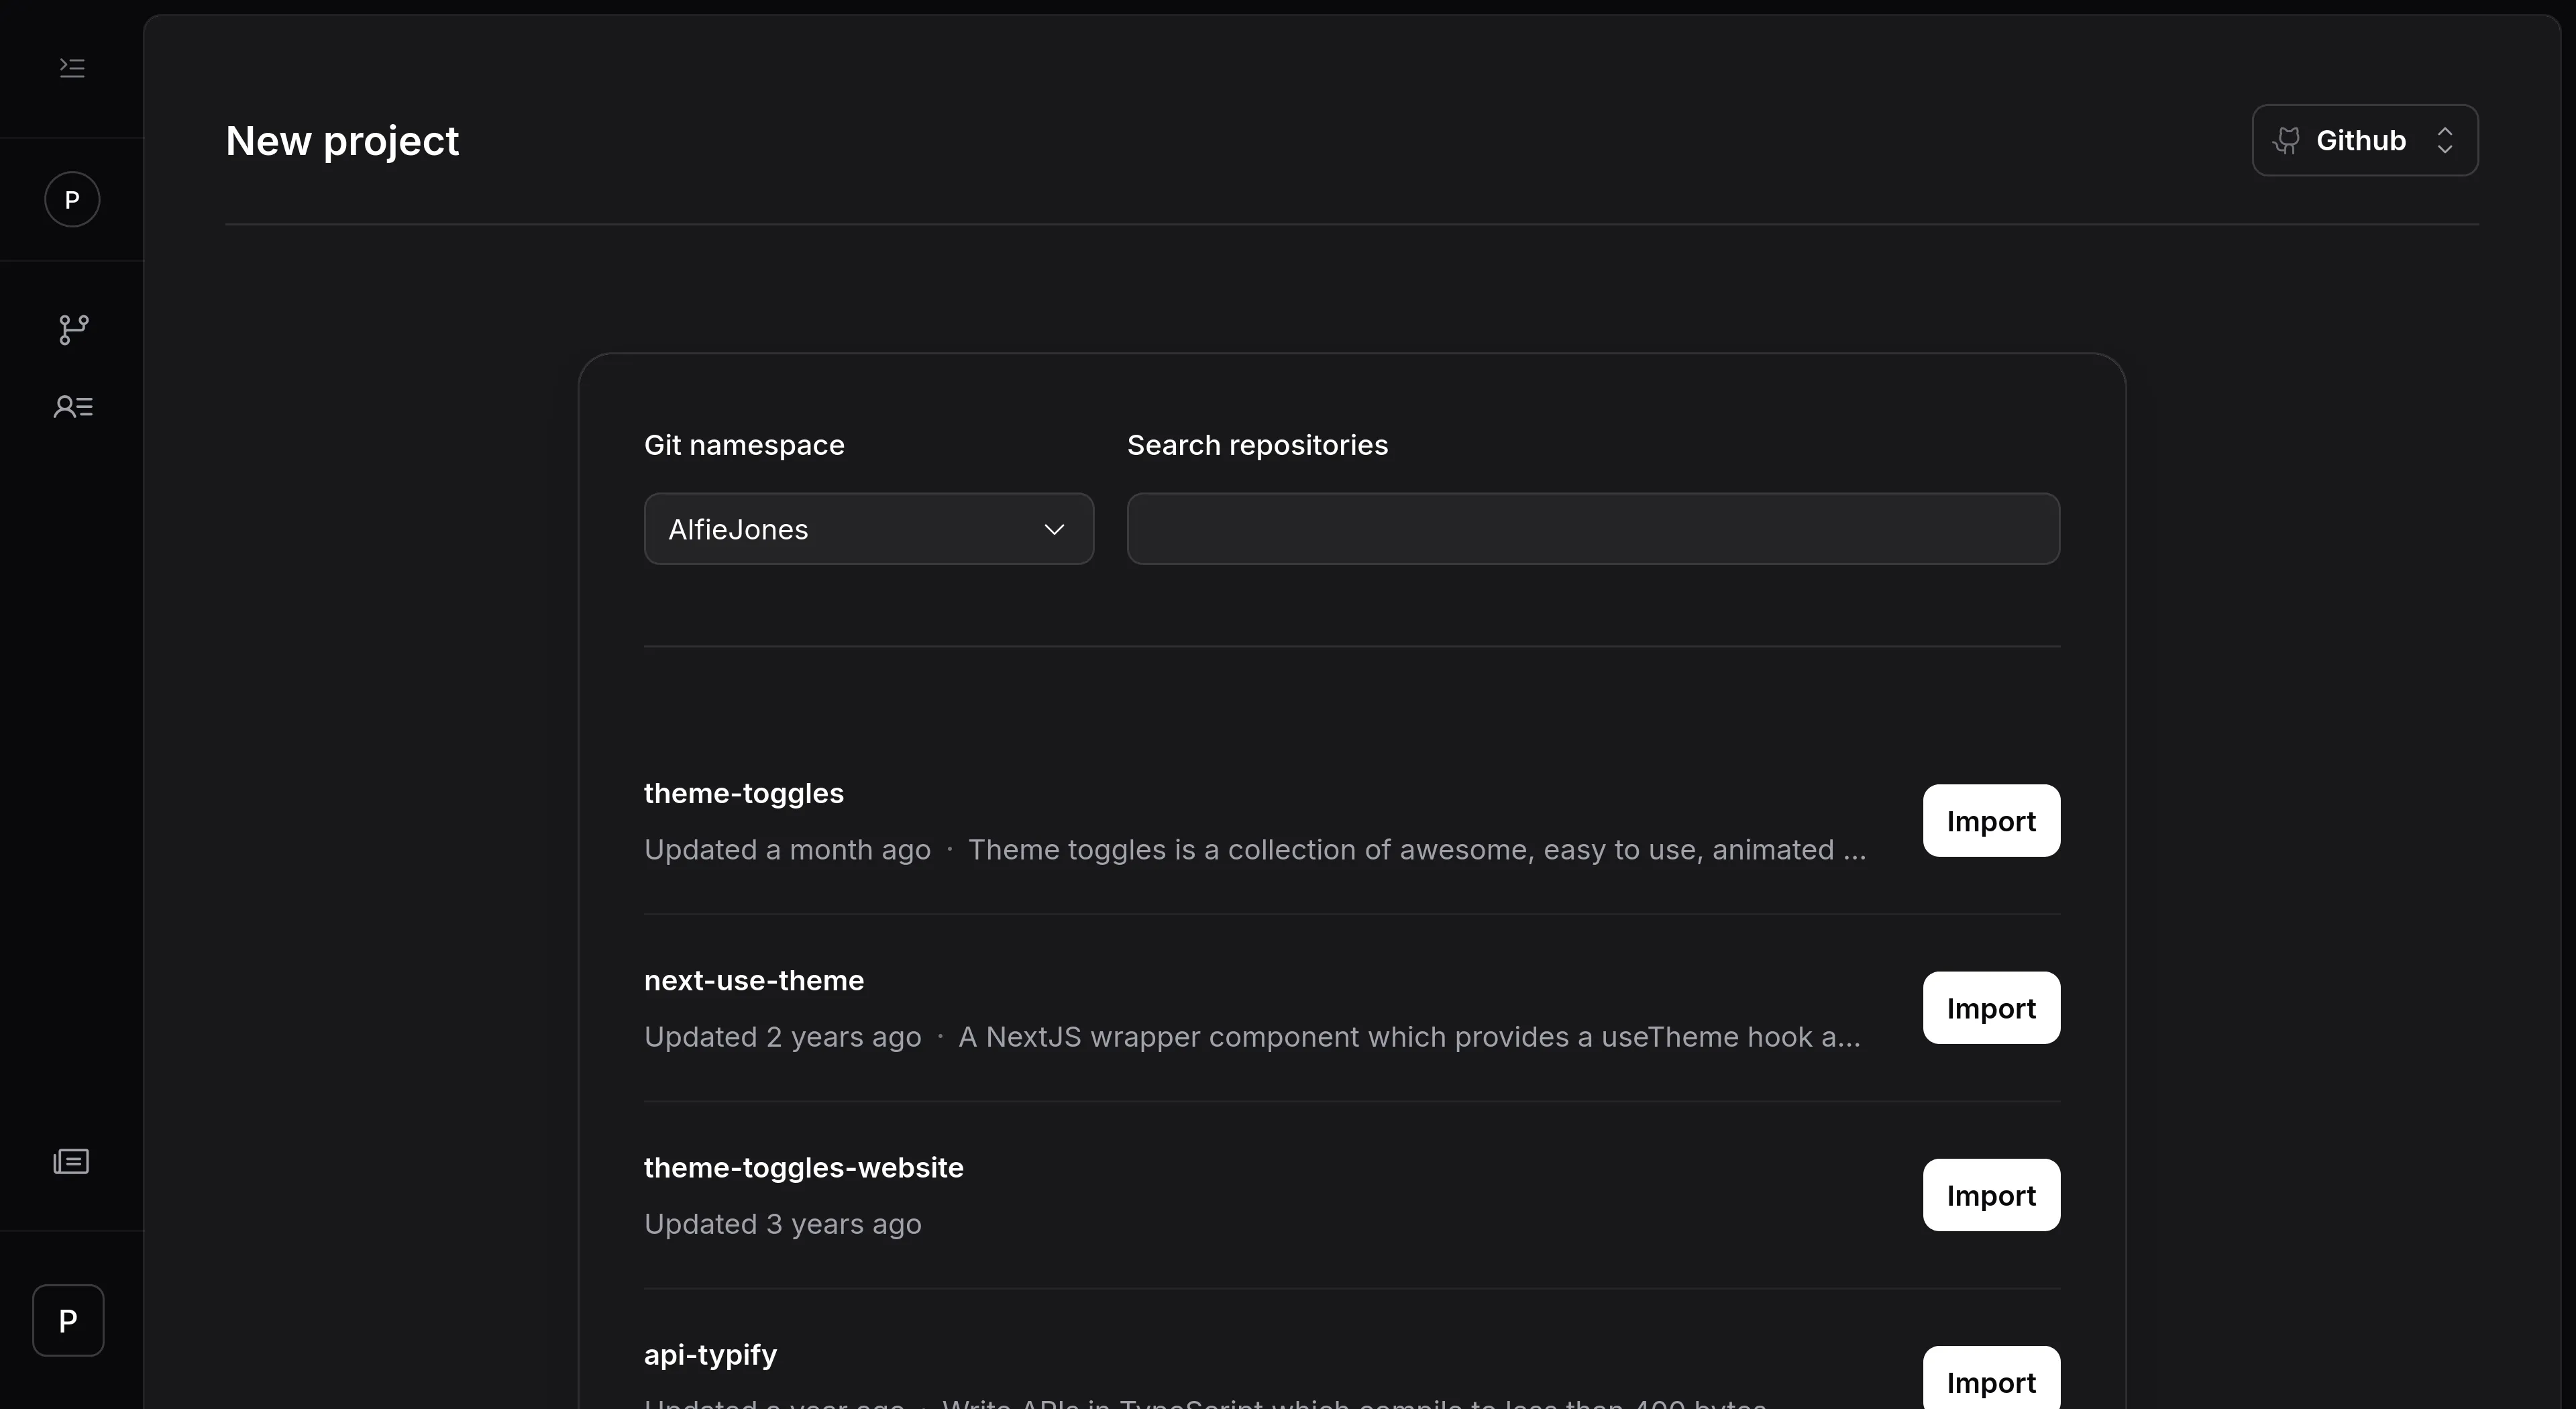
If you can't see the repo you want, make sure our GitHub app has access to it.
Write your first workflow
PandaCI uses Deno to define workflows. Don't worry, you don't need to know Deno to get started.
Create a new file called .pandaci/hello-world.workflow.ts and add the following code:
Learn more about the workflow syntax.
PandaCI will run any files in the .pandaci directory that end with .workflow.ts. By default, they're triggered on every push. Learn how to configure triggers.
Commit and push your changes
After pushing, PandaCI will automatically detect the new workflow and start running it. You can see the progress in the PandaCI dashboard.
Congratulations 🎉
You've just created your first CI/CD pipeline with PandaCI.